We tried audio transcription software Trint. Here’s what we found.

Transcription of audio & video recordings can be a mundane, time-consuming process that is important but often performed begrudgingly. We tested out cloud-based software Trint, which automatically transcribes audio from podcasts or audio recordings and audio from video, saving users hours of work.
Why is transcription important?
- Post-production: In digital storytelling, transcription is often the first step in piecing together a story from raw assets. Being able to highlight key written segments from what could be hours of audio or video footage can be useful when collaborating as a team, as it allows each member to quickly scan through content and isolate what they think is important to include in the final story.
- Search engine optimization: A challenge many content creators face is getting their story in front of the people who want to see it. With current search engine algorithms only crawling written text – not audio – it is necessary to include a written portion to go along with every digital media story so that it can be found. If your transcript is posted with your audio or video story and is full of relevant keywords, it will be more likely to appear in search results.
- Content searchability: Including a transcript with a piece of content enables viewers to quickly find what they’re looking for with a visual scan. When looking for a particular quote or statement, it’s easy to identify the segment and share it with friends. Viewers can also engage with the content (with subtitles) in situations when listening to a podcast or watching a video is not an option.
- Subtitling: Social media platforms reinvented the “silent film reel.” Now users scroll through their feeds without audio. Consequently, subtitling is necessary to hold their attention. Having a transcript of your video readily available is helpful when adding in subtitles.
Enter Trint. We signed up for a trial account, with the option to upload thirty minutes of audio and video for free. To test its accuracy, we uploaded a few short videos.
Video #1: Video on the iPhone
The first video (above) was 1 minute and 30 seconds long and featured two different English accents. Trint finished transcribing the video in under a minute; we viewed the transcription and started listening back with the video. The interface is user-friendly, with integrated keyboard shortcuts for easy navigation and convenient features like rewinding 5 seconds or highlighting/striking through. The level of accuracy was impressive given the little time it took to transcribe, but, as you can see if you follow along with the transcription, there were still quite a few errors.
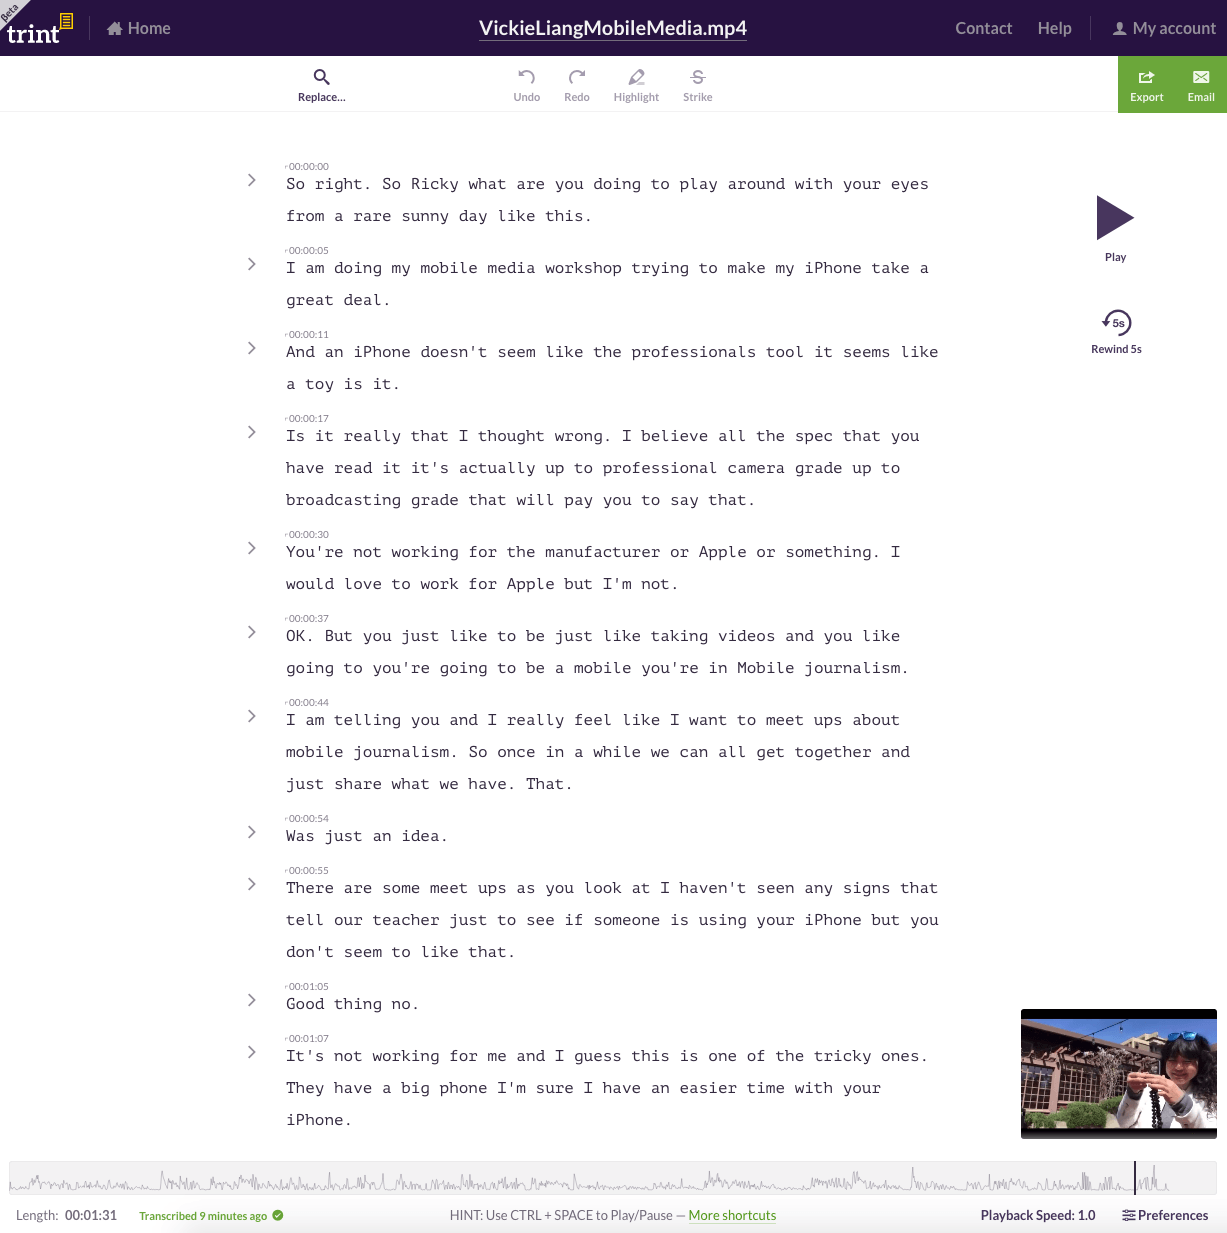
What seemed to be the biggest issue was the two voices – one speaking over the other. Trint could rarely distinguish between the end of one speaker’s voice and the start of the other’s, often because they overlapped. Still, a good chunk of the audio is legible and would be a huge time-saver even with a few extra minutes of editing. It’s also worth noting the background noise may have contributed to the errors in the audio transcription, as the video was not filmed with an external microphone. A more professional set-up may provide greater accuracy.
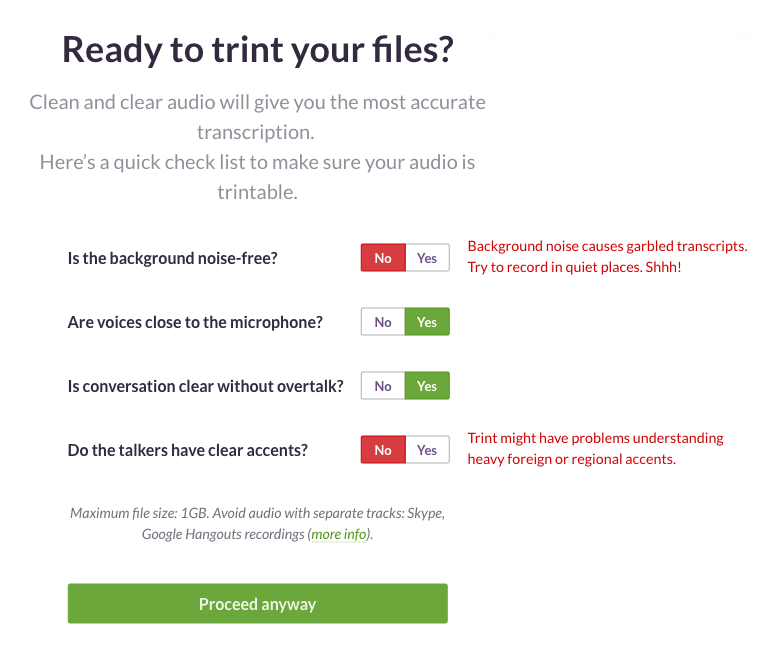
Trint’s suggestions for video transcriptions:
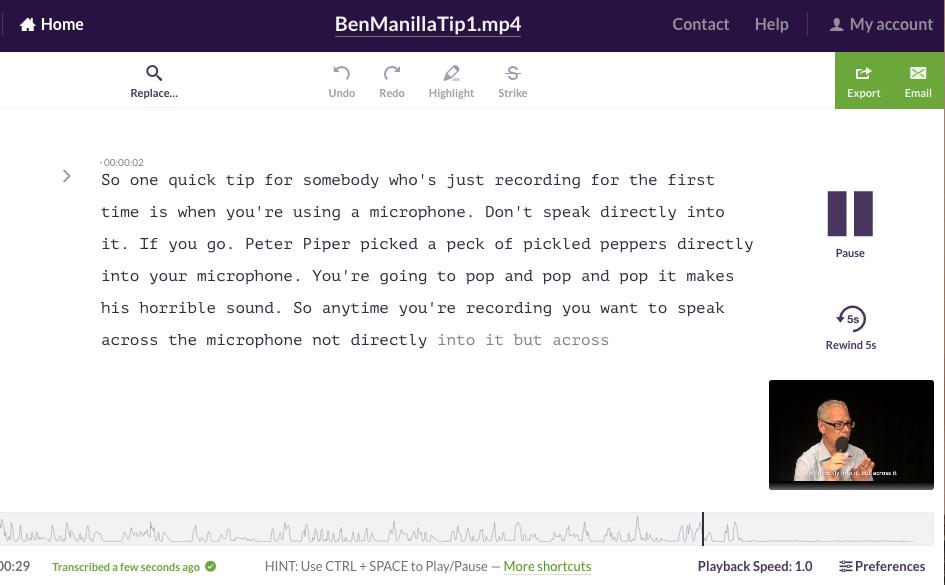
Video #2: Podcasting Tips from audio personality, Ben Manilla
The level of transcription accuracy for this video was just about 100%. Even with background music, Trint was able to clearly detect the voice, which was recorded on a Lavalier microphone. It even picked up on a tongue-twister! Trint transcribed this video in 45 seconds:
We adjusted the errors by simply typing in the interface and exported the transcript as a Word Document, though it’s also an option to export for embedding on your site. However, it requires a bit of coding knowledge and manipulation of custom CSS to make it work.
In addition, the demo video on Trint’s website shows an option that allows you to easily export your transcript as captions that are tied to time markers in your video, but we don’t see that option in our trial version.
To sum it up:
- Trint worked well with clear, isolated audio recorded by a professional microphone. Background music didn’t seem to interfere, but overlapping dialogue and ambient sound did decrease the accuracy of the transcript.
- The custom embedding platform could be confusing to the average user. We hope to see a one-click embed feature in the future.
- Even with some errors, Trint dramatically speeds up transcription workflow.
[/vc_column_text][/vc_column][/vc_row]